
DB 설정 (Maria DB)
create user 'cos'@'%' identified by 'cos1234';
GRANT ALL PRIVILEGES ON *.* TO 'cos'@'%';
create database security;
use security;
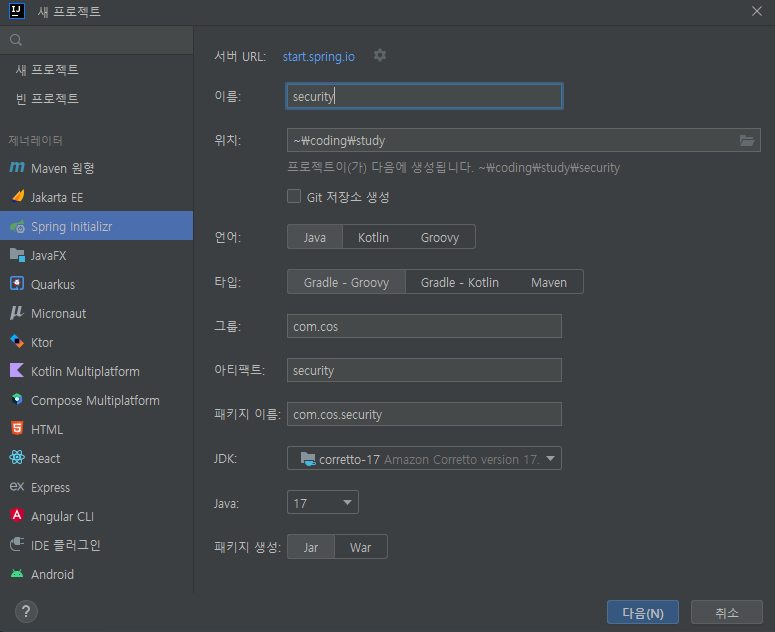
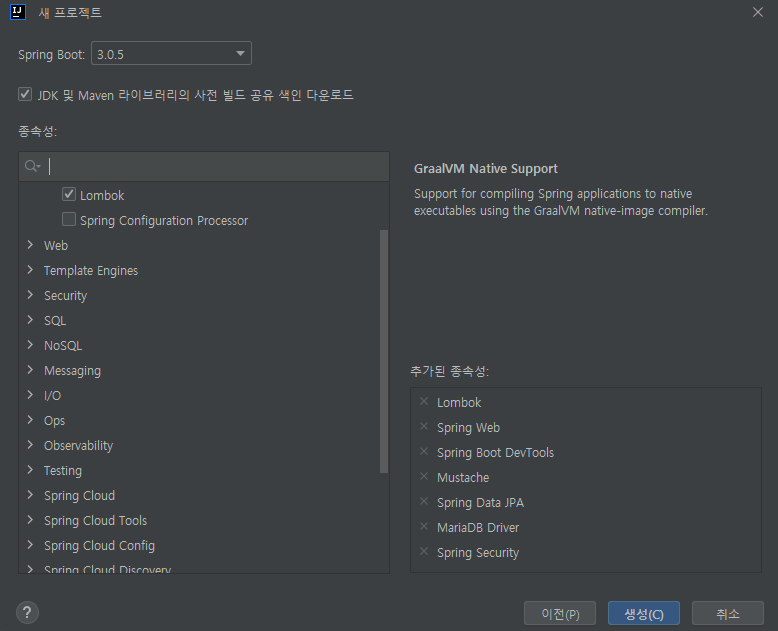
프로젝트 설정
application.properties
server.port=8080
server.servlet.context-path=/
server.servlet.encoding.charset=utf-8
server.servlet.encoding.enabled=true
server.servlet.encoding.force=true

spring.datasource.driver-class-name=org.mariadb.jdbc.Driver
spring.datasource.url=jdbc:mariadb://localhost:3306/security
spring.datasource.username=cos
spring.datasource.password=cos1234

spring.jpa.hibernate.ddl-auto=create
spring.jpa.hibernate.naming.physical-strategy=org.hibernate.boot.model.naming.PhysicalNamingStrategyStandardImpl
spring.jpa.show-sql=true
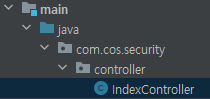
package com.cos.security.controller;

import org.springframework.stereotype.Controller;
import org.springframework.web.bind.annotation.GetMapping;

@Controller
public class IndexController {

    @GetMapping("/")
    public String index() {
        return "index";
    }
}
<!DOCTYPE html>
<html lang="ko">
<head>
    <meta charset="UTF-8">
    <title>인덱스페이지</title>
</head>
<body>
<h1>인덱스페이지입니다.</h1>
</body>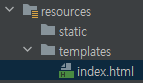
</html>mustache를 사용하기로 했는데 지금 만든 index는 .html이다. 확장자를 .mustache로 하게 되면 만들 때 조금 까다롭기 때문에 .html로 사용한다. 대신 config 설정을 할 것이다.
package com.cos.security.config;

import org.springframework.boot.web.servlet.view.MustacheViewResolver;
import org.springframework.context.annotation.Configuration;
import org.springframework.web.servlet.config.annotation.ViewResolverRegistry;
import org.springframework.web.servlet.config.annotation.WebMvcConfigurer;

@Configuration
public class WebMvcConfig implements WebMvcConfigurer {

    @Override
    public void configureViewResolvers(ViewResolverRegistry registry) {
        MustacheViewResolver resolver = new MustacheViewResolver();
        resolver.setCharset("UTF-8");
        resolver.setContentType("text/html; charset=UTF-8");
        resolver.setPrefix("classpath:/templates/");
        resolver.setSuffix(".html");

        registry.viewResolver(resolver);
    }
}
이제 스프링부트를 실행 해준다.
실행시키면 중간에

패스워드가 나오는데 복사해준다.
localhost:8080으로 접속하면 login 페이지로 이동된다.
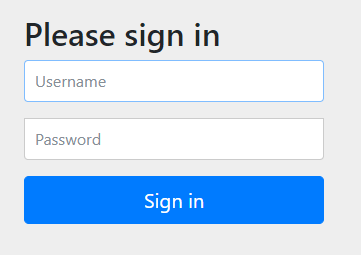
스프링 시큐리티를 설정하면 페이지로 들어가는 모든 주소가 막혀, 인증이 필요하다. Username에 user, Password에 아까 복사한 패스워드를 붙여 넣으면 된다.

'Spring Security' 카테고리의 다른 글
| [OAuth] 구글 로그인 준비 (0) | 2023.03.26 |
|---|---|
| [기본] 시큐리티 권한처리 (0) | 2023.03.25 |
| [기본] 시큐리티 로그인 (0) | 2023.03.25 |
| [기본] 시큐리티 회원가입 (0) | 2023.03.25 |
| [기본] 시큐리티 설정 (0) | 2023.03.25 |